
Enabling and Disabling RTM Function
In this article, we'll go over enabling and disabling the RTM feature during patient creation, via the Edit Patient Profile section.
Enabling the RTM Function
1.) When logging in to the system as an Admin or Therapist, you'll automatically be directed to the "Patients" page. Search for the patient you wish to enable RTM for by making use of the "Search Bar" next to the "Add Patient" button. Click the patient card to go to the patient's profile.
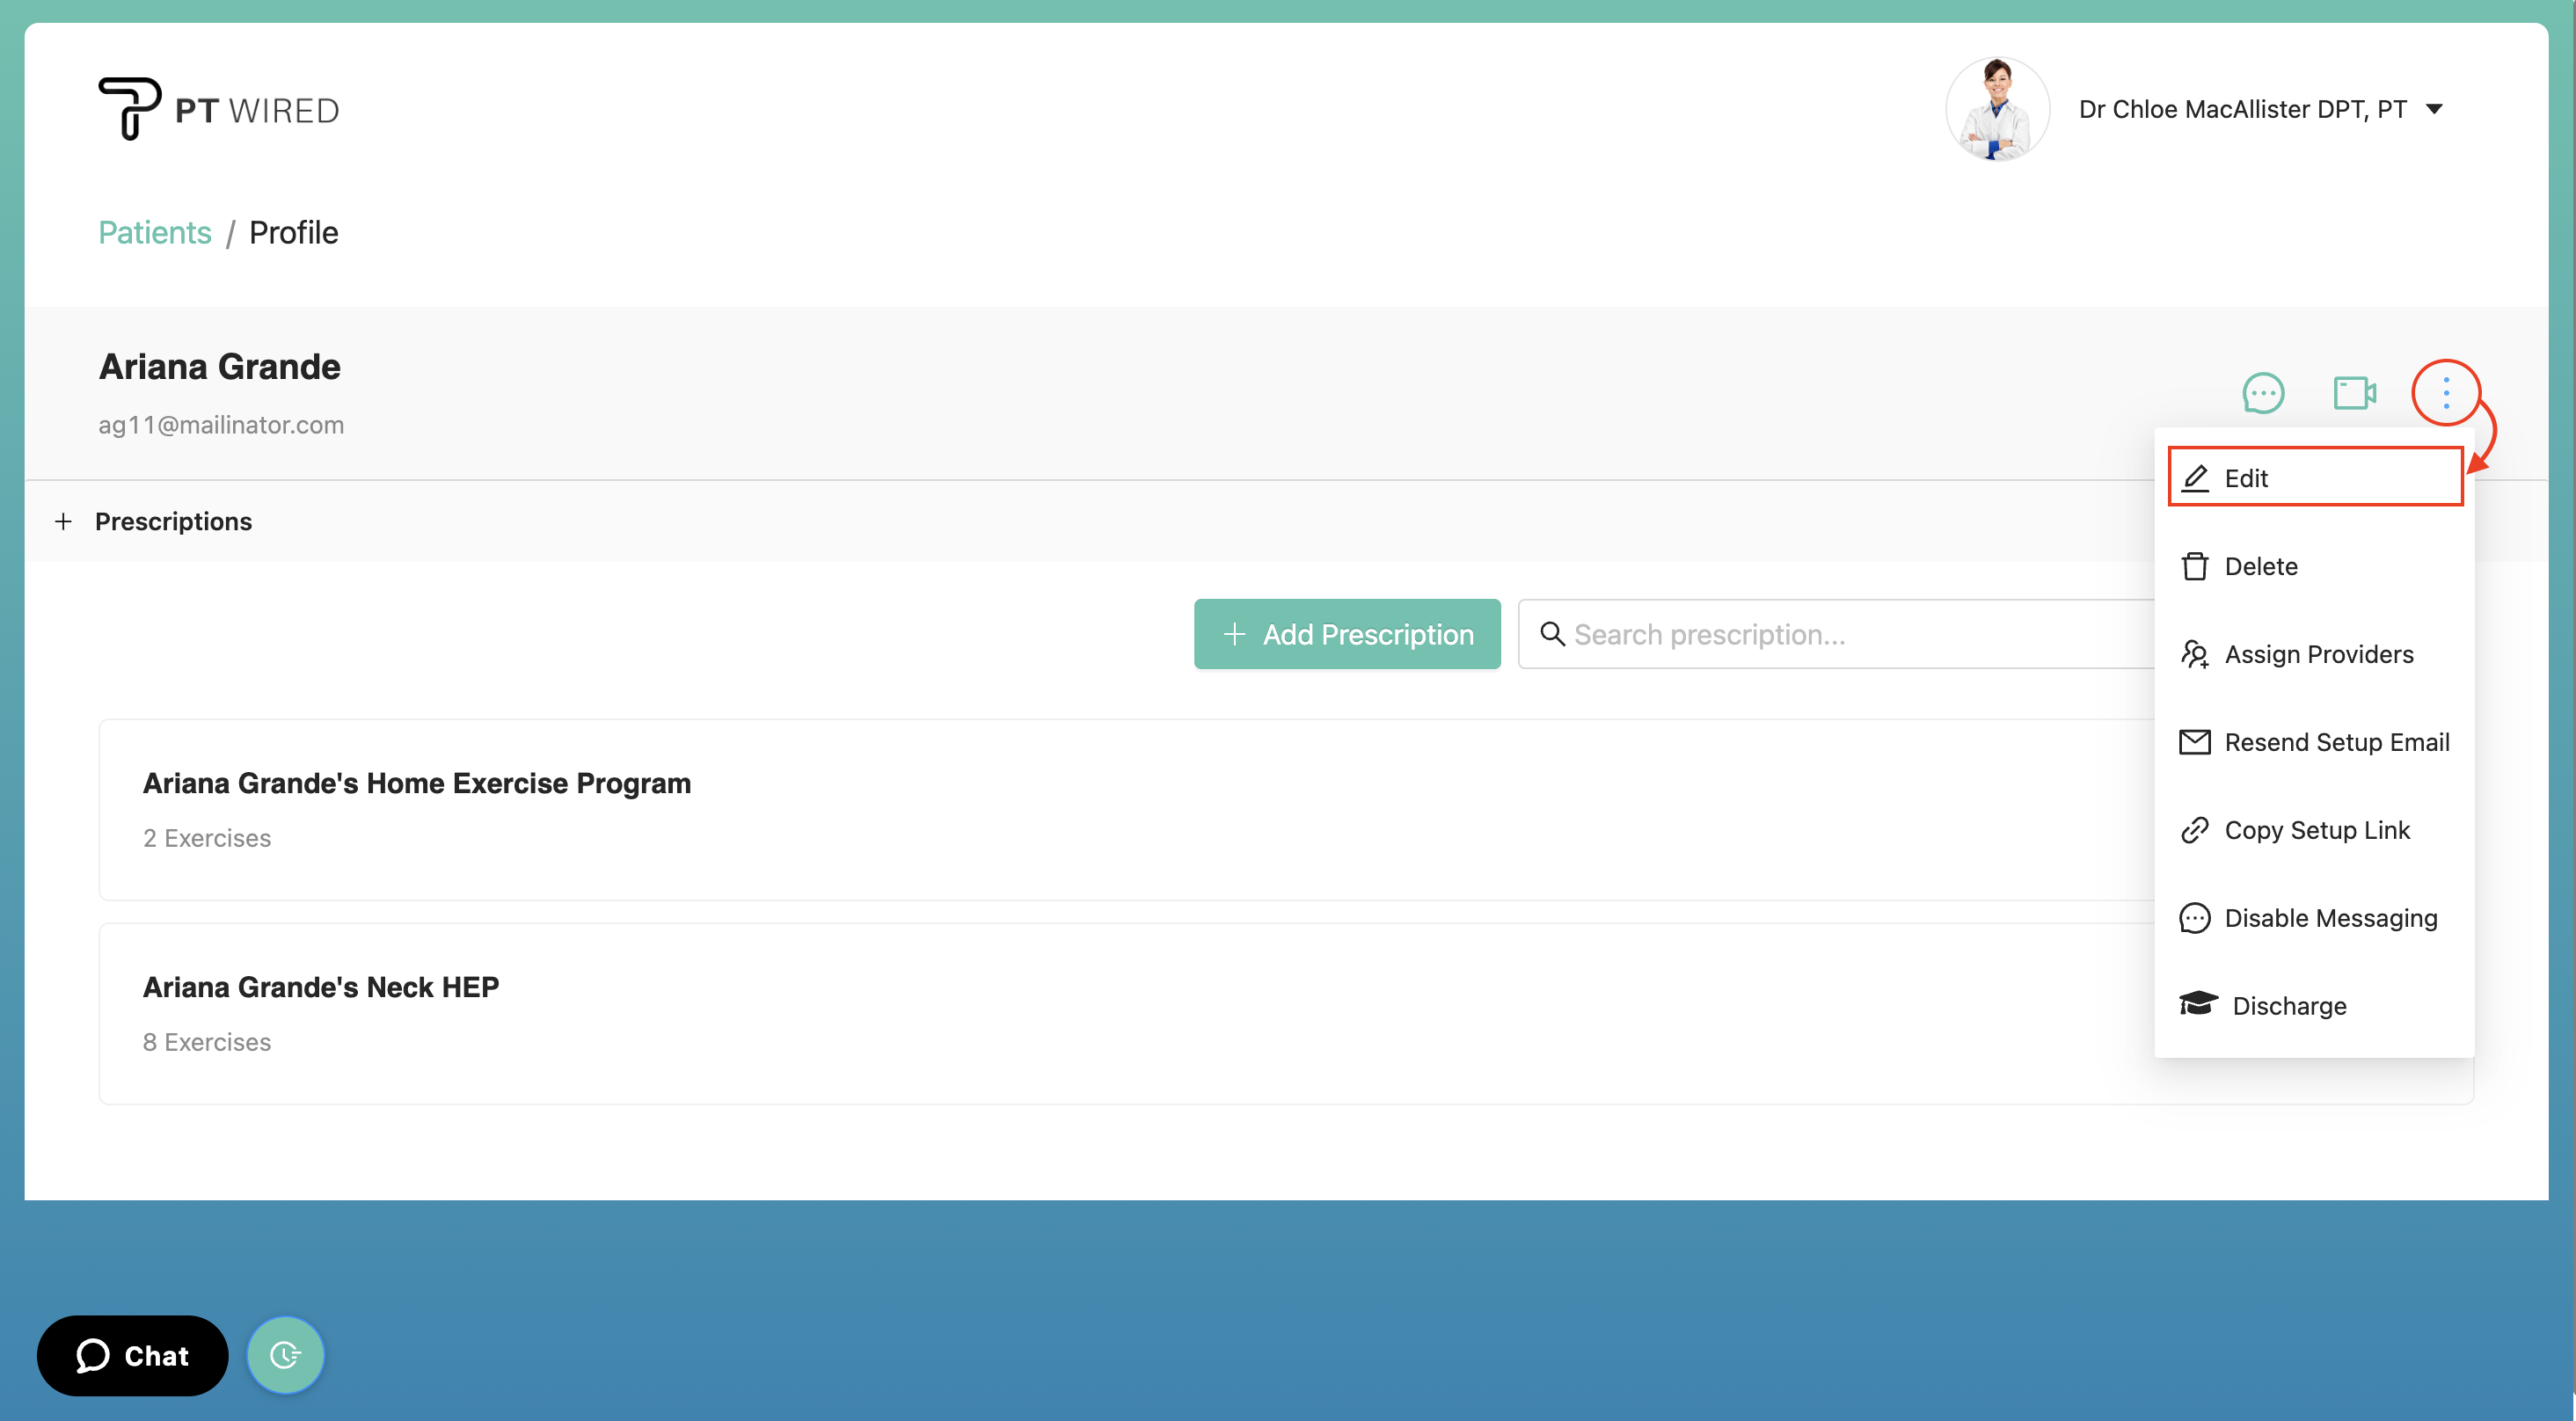
2.) On the patient's profile page, click the three dots and select "Edit" from the dropdown menu to open up the Edit Patient Profile menu.
3.) Toggle the "Enable RTM" button on, found below the patient's information required to be filled in. The toggle will be blue and mention "Yes" when it has been enabled. Lastly, click the "Save Changes" button to apply the change made.
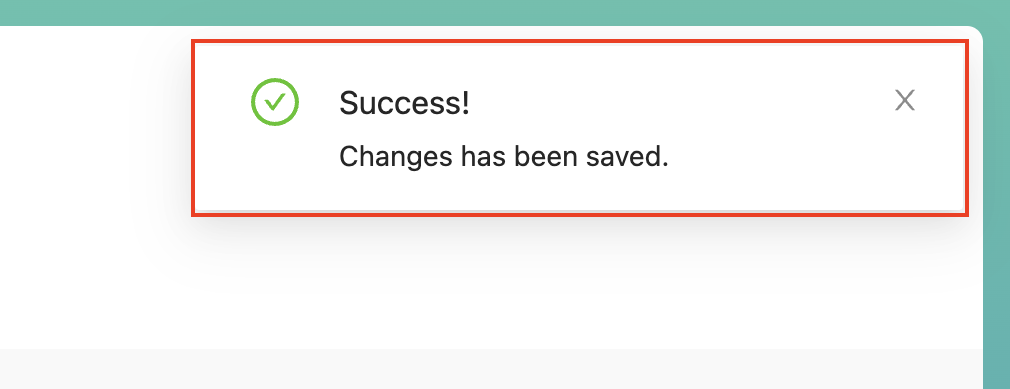
- Once the changes have been successfully saved, a Success! Changes have been saved pop-up will appear on the top right corner of the page.
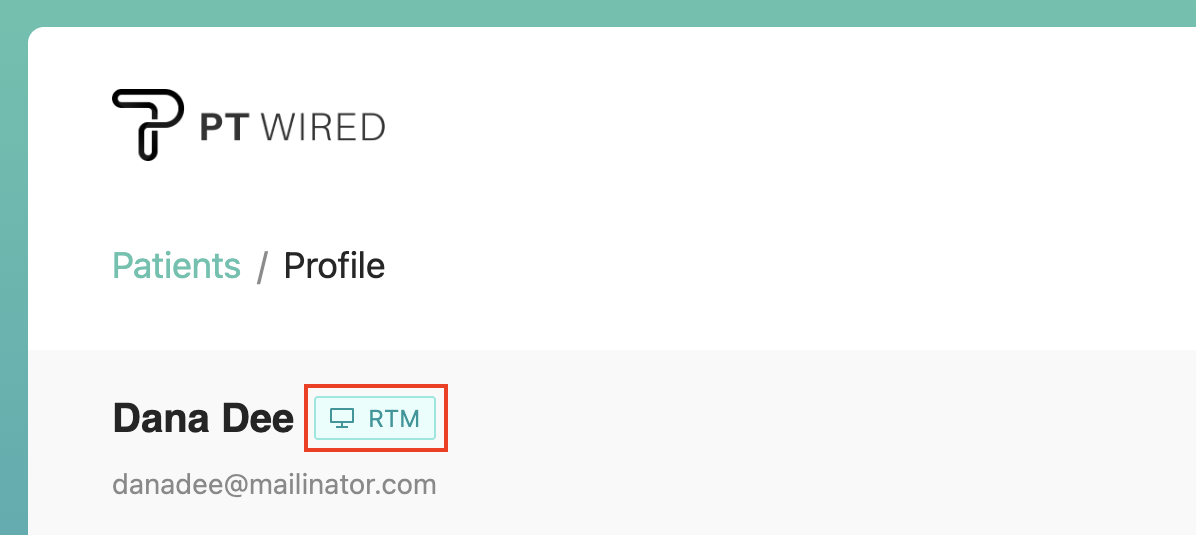
- The RTM icon would then appear beside the patient's name on their profile.
Disabling the RTM Function
1.) In the patient's profile, navigate to the right of the page and click the three blue dots. A dropdown menu will appear - click the first option "Edit" to edit the patient's profile.
2.) From the pop-up menu, toggle the "Enable RTM" OFF. The toggle will be grey and mention "No" do indicate that the RTM feature has been disabled. Click the "Save Changes" button to save your changes.
- Once the changes have been successfully saved, a Success! Changes have been saved pop-up will appear on the top right corner of the page.